Creating an element is quite easy in javascript. You can simply pass the tag name of the element you want to create to the document.createElement() method, and it takes care of the rest.
But, only creating a plain element is never enough while working on a real-world project.
You might need to add some attributes to the element such as id, class, style, etc.
The id attribute can help uniquely identify the element whereas the class attribute can help add external styles to the element.
In this article, I’ll guide you through the steps of creating some of the most commonly used elements with JavaScript and then add the class, id, and style attributes to them.
So without any further ado, let’s begin.
Create an Element with Classes
To create an element with classes, you basically need three things:
- The
createElement()method – It creates a new DOM element. - The
classList.add()method – It adds single or multiple classes to the element. - The
appendChild()method – It appends a given element to the page or to a specific element.
For example, let’s say we have a div element with an id="parent" in our HTML document.
We want to dynamically create a div element with JavaScript and append it to the existing div.
<div id="parent">
    <!--Child div will be added here-->
</div>
We want to add two classes 'highlight' and 'italic' to the newly created div.
Let’s define these two classes in our CSS file so that we can check if these classes are added to the div or not:
.highlight{
    background-color: yellow;
    padding: 10px;
}
.italic{
    font-style: italic;
}
Let’s now create the div dynamically with JavaScript and add two classes ‘highlight’ and ‘italic’ to this div.
You can pass as many classes as you want to the classList.add() method as comma-separated string parameters:
// Get the reference to the parent element
const parent = document.querySelector('#parent');

// Create the new element(div)
const elem = document.createElement('div');

// Add some text to the element
elem.innerText = 'This is some random text.';

// Add classes to the element
elem.classList.add('highlight','italic');

// Append element to the parent
parent.appendChild(elem);
Output:
After running the above code, you will get the following output:
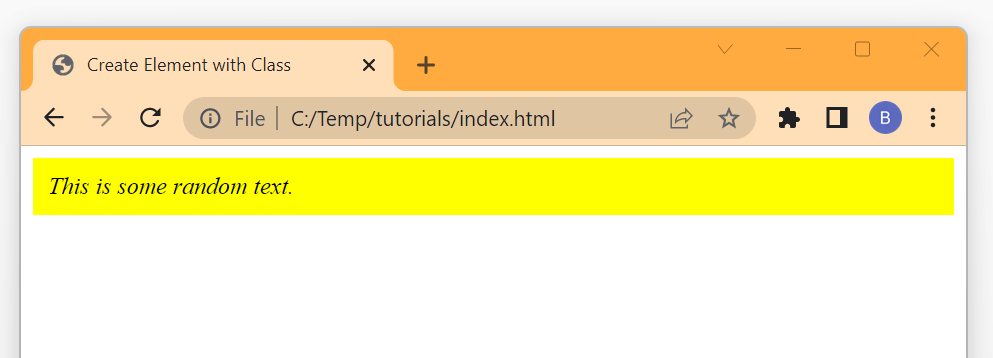
As you can see from the above output, a new div element is created under the existing div with two classes ‘highlight’ and ‘italic’.
Use the ClassName Property to Create Elements with Classes
You can also use the Element.className property to add single or multiple classes to an element.
The className property takes a string value that consists of one or more class names separated by spaces.
Here is the same example that we discussed in the previous example but with the className property:
// Get the reference to the parent element
const parent = document.querySelector('#parent');

// Create the new element(div)
const elem = document.createElement('div');

// Add some text to the element
elem.innerText = 'This is some random text.';

// Add classes to the element
elem.className = 'highlight italic';

// Append element to the parent
parent.appendChild(elem);
This will also give you the same output as in the previous example.
Create an Element with Id Attribute
The id attribute is used to give a unique identifier to an HTML element. It can be used for various purposes.
To create an element with the id attribute, you can use the setAttribute() method. The setAttribute() method sets the given attribute for the element.
If the attribute already exists on the element, its value is updated instead.
The setAttribute() method has the following syntax:
setAttribute(attributeName, attributeValue)
Where, the attributeName is the name of the attribute you want to add to the element. In our case, it is the id attribute.
The attributeValue is the value of the attribute you want to add to the element.
Let’s say we have a div element with id=”parent” and we want to create a new div under this div element with an id="myId".
<div id="parent">
    <!--Child div will be added here-->
</div>
Let’s add some CSS styles corresponding to the #myId, so that we could test if the element is successfully created with id=”myId” or not.
#myId{
    background-color: springgreen;
    padding: 20px;
    margin: 20px 10px;
    border-radius: 5px;
}
Add the JavaScript:
// Get the reference to the parent element
const parent = document.querySelector('#parent');

// Create the new element(div)
const elem = document.createElement('div');

// Add some text to the element
elem.innerText = 'This is some random text.';

// Add ID to the element
elem.setAttribute('id', 'myId');

// Append element to the parent
parent.appendChild(elem);
Output:
After running the above code, you will get the following output:
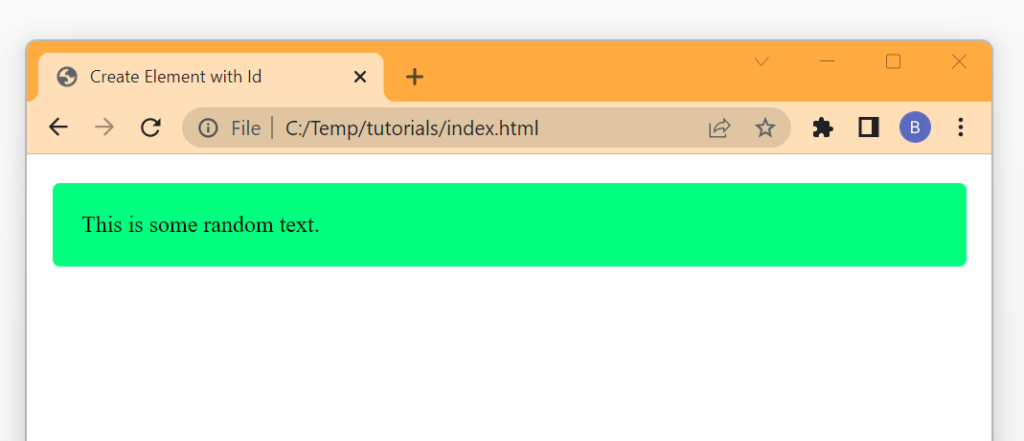
Use the Element.id Property to Create Element with an Id
You can also use the id property of the Element interface to create an element with an id attribute.
The Element.id can be used to get or set the id of an element.
To set the id attribute of an element, you can simply assign a new value to the id property. This will add the given value as an id to the element.
The following example creates a new div element and assigns an id=”myId” to this newly created div element. This also gives you the same output as in the previous example.
// Get the reference to the parent element
const parent = document.querySelector('#parent');

// Create the new element(div)
const elem = document.createElement('div');

// Add some text to the element
elem.innerText = 'This is some random text.';

// Add ID to the element
elem.id = 'myId';

// Append element to the parent
parent.appendChild(elem);
Conclusion
In this article, we learned how we can create an element dynamically with class, id or style attribute using JavaScript.
In summary, if you want to create an element with single or multiple classes, you can use the classList.add() method. This method lets you pass the names of the classes you want to add to the element as string parameters.
You can also use the className property of the Element interface to create an element with classes. Each class name can be passed as a space-separated string value.
If you want to add the id or any other attribute to the element, you can use the setAttribute() method.
Thanks for reading.